Acrylic Pour Wall Plates
- Simply Jelly Jam
- Aug 26, 2021
- 4 min read
Using acrylic and tempera paints for fluid art over light switch and outlet covers.
I recently completed an acrylic pour (a.k.a. flow or fluid art) on several wall plates to match my master bedroom remodel. I still have lots to learn about the art, but I thought I'd share the steps I took in case you're interested.
Supplies and Stuff
These are the items I used to complete my paint pour:
Wall plates (light switch and outlet covers)
Tarp
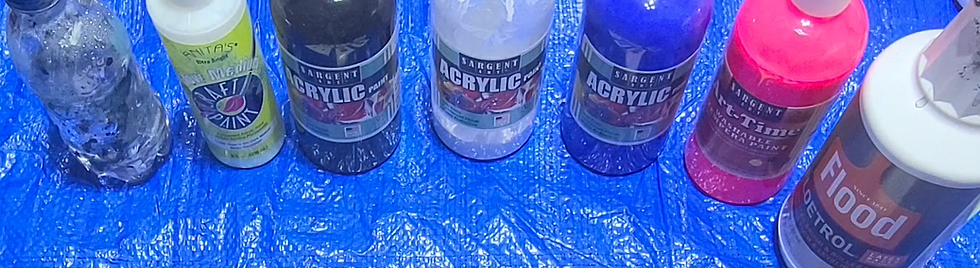
Acrylic and/or tempera paints
Cups
Stir tools
Water
Floetrol
Varnish
Prepping the Wall Plates and Paints
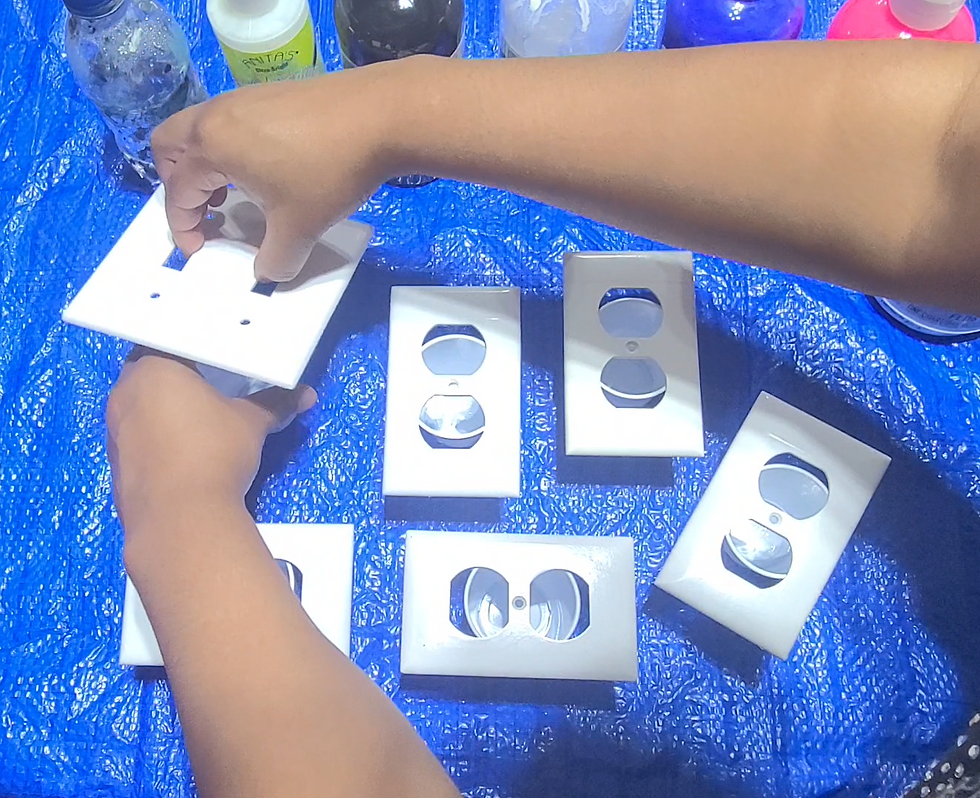
I laid a tarp to protect the surface I wanted to use for my art project. I set out enough small cups to keep the wall plates elevated. I didn't want the poured paint to dry and adhere the wall plates to the tarp. The cups prevented unwanted sticking. It also allowed me to collect a lot of the excess paint to pour over other items for fun.
I cleaned the wall plates with a baby wipe, but I didn't sand or prime them. I wanted to be able to wash or peel off paint if I didn't like the look. I know that meant the pour was temporary and could easily be scratched, but that would give me a reason to do it all again for practice.
I decided to use the following colors for my pour: light blue, blue, white, and black. I used various acrylic and tempera paints. Tempera paints seem to work very well with fluid art because it's thinner than acrylic paints.
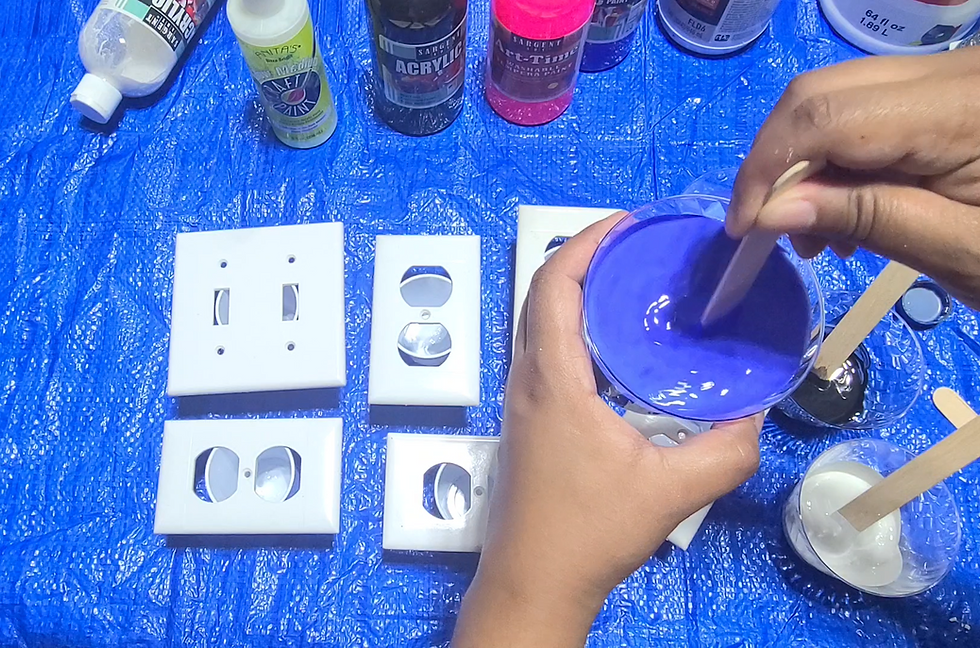
With my paint colors in separate cups, I mixed some Floetrol and water into each cup with craft sticks. I'm still trying to figure out how much of each liquid I should mix in, so my apologies for not having measurements to share with you. For now, I know I want the mixed paints to be thin enough to not leave clumps on the surface of the item I'm decorating, but not so thin that the colors don't remain on the item.
Floetrol helps create a smooth flow of the paint when an item is tilted. Water thins the paint which could be too thick and clumpy for a smooth flow. I'd recommend adding small amounts of water as needed. It's possible for the paint to be so thin that it won't remain on the item being poured over.
I attempted to add glow-in-the-dark paint to each mixture, but I likely didn't add enough because it doesn't glow even after letting the wall plates sit under the sun to activate for hours.
Pouring Paint

When I believed the paint colors were a decent, thin consistency, I randomly poured them into a separate cup. For example, I'd pour some white, then light blue, followed by black, and so on. I didn't pour the colors with an order in mind.

Before I started "the pour," I recalled watching many content creators cover a thin base coat over items to ensure a smooth flow. I've never done this before, but I thought I'd give it a try. After all, I had some excess paint available to use.
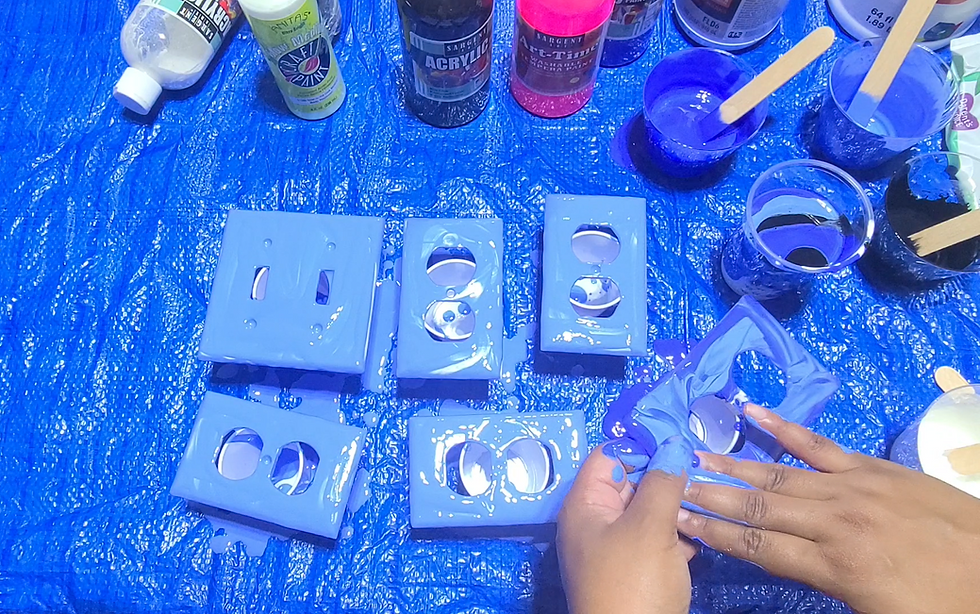
I poured and spread some of the excess blue paint colors over the wall plates. The light blue matched my freshly painted bedroom walls, so I thought that was a good color to use.
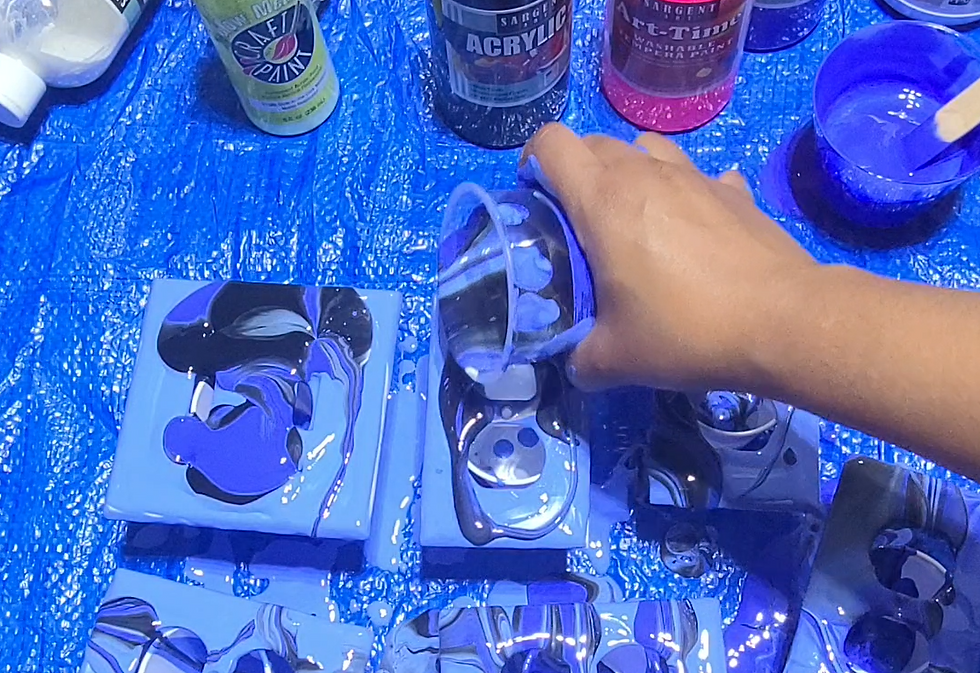
Once the base coat was poured and spread, I poured the cup I setup early with the various mixed paints. I poured over much of each wall plate, but I didn't worry about not getting every inch covered.

I picked up and tilted each wall plate to allow the poured paint to spread and flow on its own. This helped create an abstract, nearly marble looking design I loved!

After I tilted each wall plate, I decided white was lacking on a few of them. I mixed the excess paints into the cup and re-poured over the wall plates I wanted to modify. Because the paint was thin and still wet, the modification worked well.
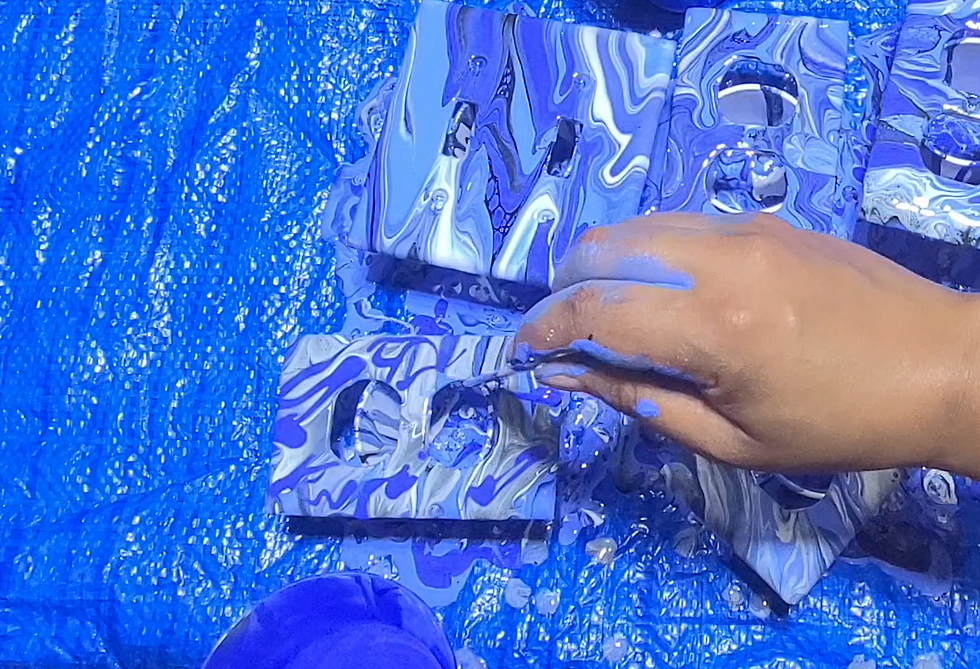
I decided to experiment with drizzling blue paint with a craft stick over one of the wall plates. It was a good way to have very little control over where veins appear on the surface. The technique worked and I'll have to use it again for future projects.
I left the wall plates to dry completely.
Protecting the Wall Plates

To protect newly painted wall plates, I sprayed a couple coats of varnish. Since I didn't sand or prime the wall plates before the pour, there's a possibility that the paint could chip off.
This happened with one of the wall plates I poured last year when I did an Acrylic Pour on Fan Blades. I accidentally ran my fingernails over the surface creating a small scratch in the paint. Otherwise, the wall plates I poured last year still look great, so I'm not concerned about this new set of wall plates.
By the way, I did an acrylic pour on two sets of ceiling fan blades last year. They still look great over a year later! I've thought about pouring over the fan blades of all ceiling fans in my house. Leave a like on this blog post or the linked YouTube video if you'd want me to share that experience when it happens.
My Thoughts

I loved the way the wall plates turned out! Acrylic pour, also known as flow or fluid art, is abstract and somewhat unpredictable. The end result is often satisfying to the eyes.
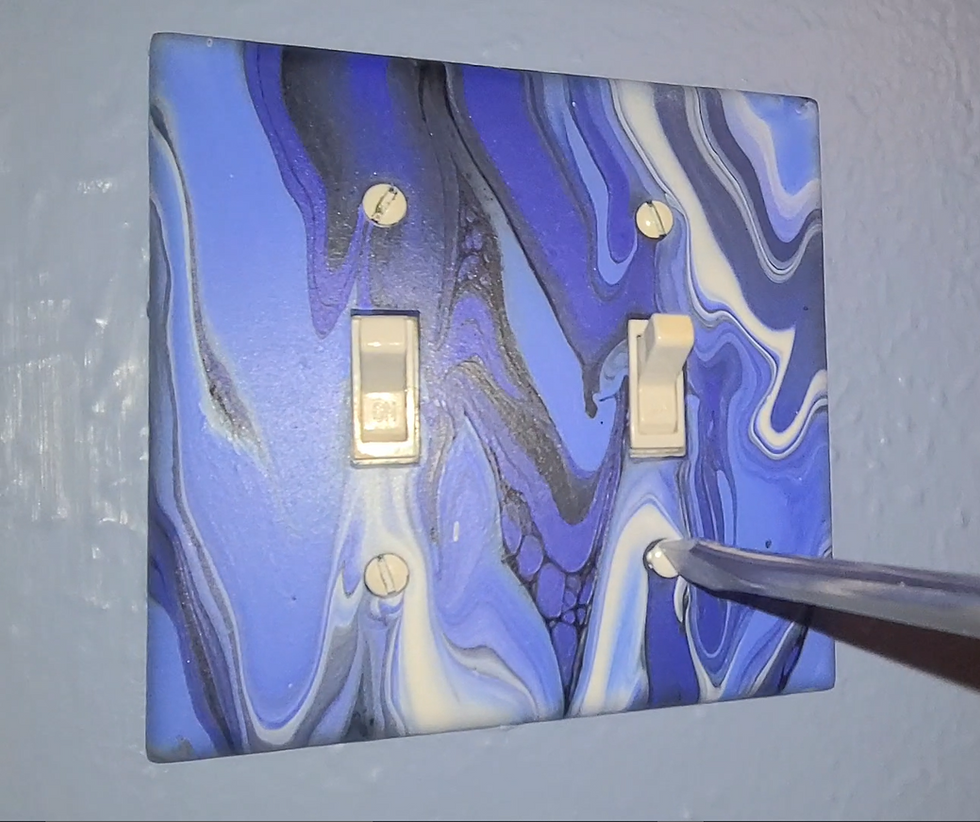
Sadly, most of the wall plates will be hidden in my master bedroom under or behind furniture. At least one of the light switch and outlet plate will be visible all the time. They're art pieces worth seeing every day!
What's Next?
This weekend I'll setup my journal/diary for September. If you'd like to see the fab and magical design theme I've decided on, check back next week to see what I share.
Have you decorated and customized the wall plates on the walls in your house? Login and Sign up to share what you used to spruce up your wall plates.
Don't forget to subscribe below to be notified by email when I post something new.
Thanks, and have a great day!
Simply Jelly Jam
Comments