Customized World Map Travel Case
- Simply Jelly Jam
- Feb 16, 2021
- 4 min read
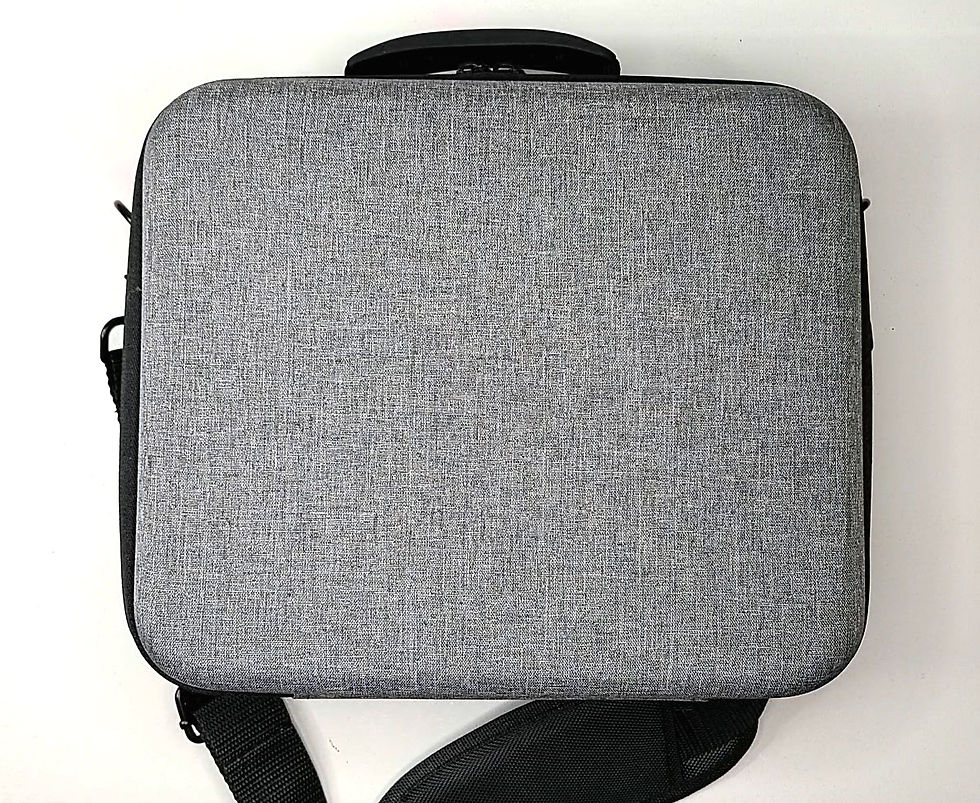
Customizing a carrying case with removable vinyl and fabric paint.
I customized a travel carrying case for fun once again. I primarily used removable vinyl, my Cricut machine, and 3D fabric paints to add a design I'd be happy to travel with.
Finding a Design
I knew I wanted to customize the case with a map-themed design. After all, it's how I've customized many travel cases in my past including the Customized Cassette Carrying Case I shared last year.

I initially searched online for "travel design idea" images. I eventually settled for a free world map silhouette image for a vinyl template I wanted to create with my Cricut machine.
Working in Cricut Design Space

In Cricut Design Space, I uploaded the world map silhouette as a "Cut Image." I resized it to 10" wide to fit within the surface area of the travel case.
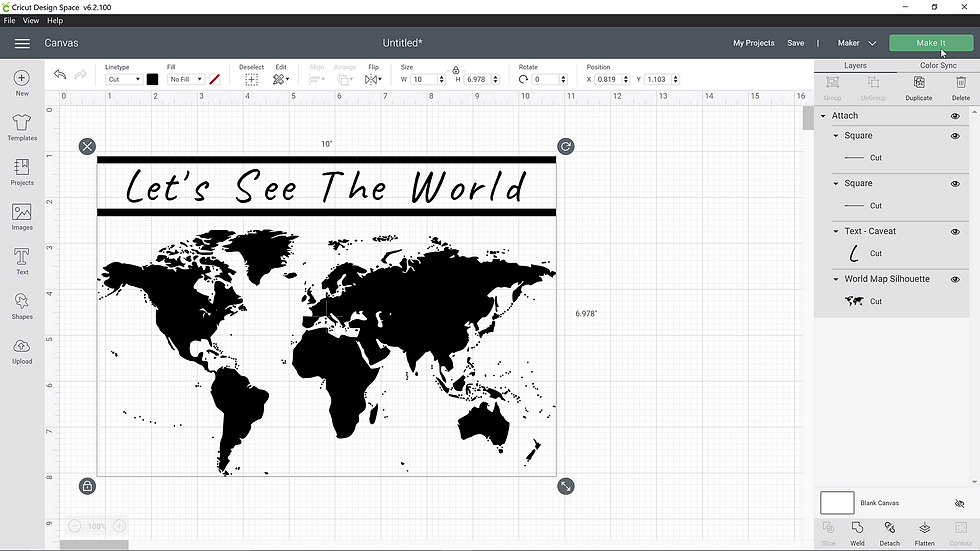
I figured the design by itself was too plain, so I added the text "Let's See The World" above the silhouette image. I also added a thick border line above and below the text to draw focus to it.
I selected all layers, centered it horizontally, resized it to 10" wide, and attached them. I clicked "Make It" to determine how much removable vinyl I needed to cut and place on a mat.
Placing, Cutting, and Weeding the Vinyl
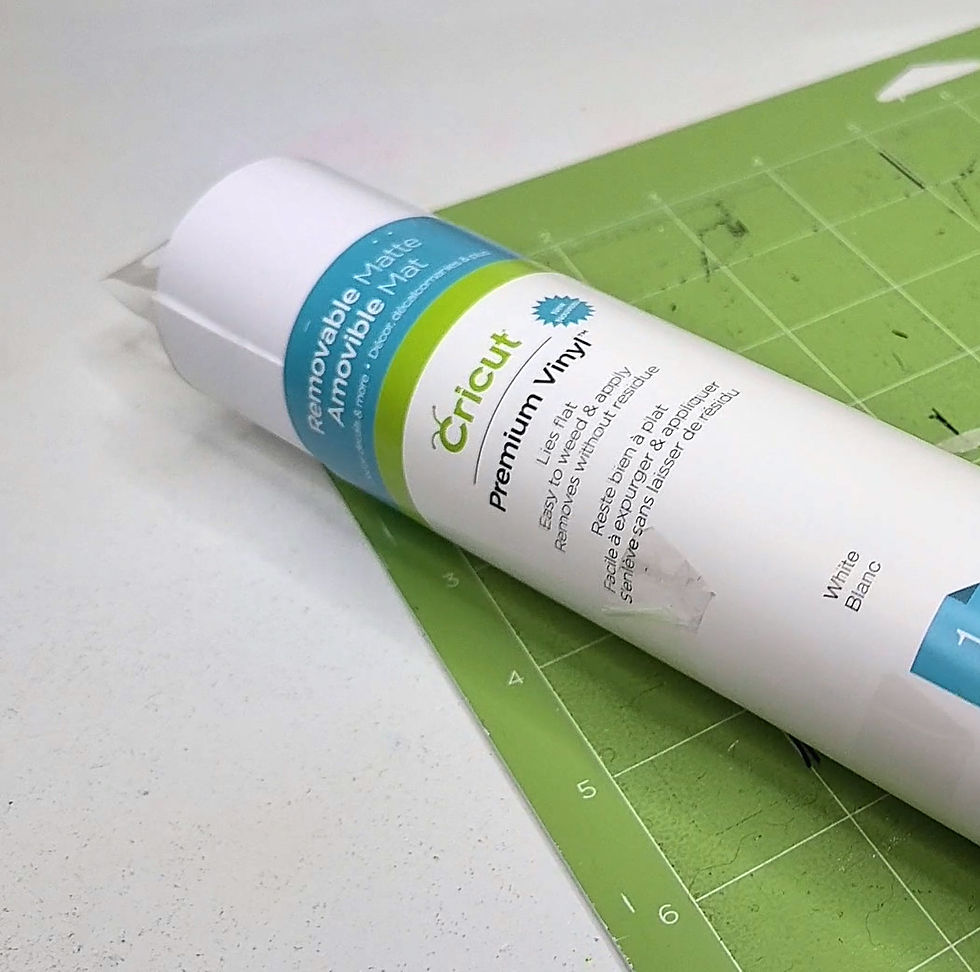
I chose removable vinyl as a stencil for painting the world map silhouette design onto the travel case. I like using removable vinyl because of its light adhesive backing that prevents it from moving when I'm using it as a stencil.
I set the base material in Cricut Design Space as "Premium Vinyl" and let the machine do its cutting. Once done, I started weeding out the text, border lines, and world map silhouette while it remained on the mat. Leaving it on the mat makes it a little easier for me to devote both hands to weeding instead of using one hand to hold the vinyl on the tabletop.
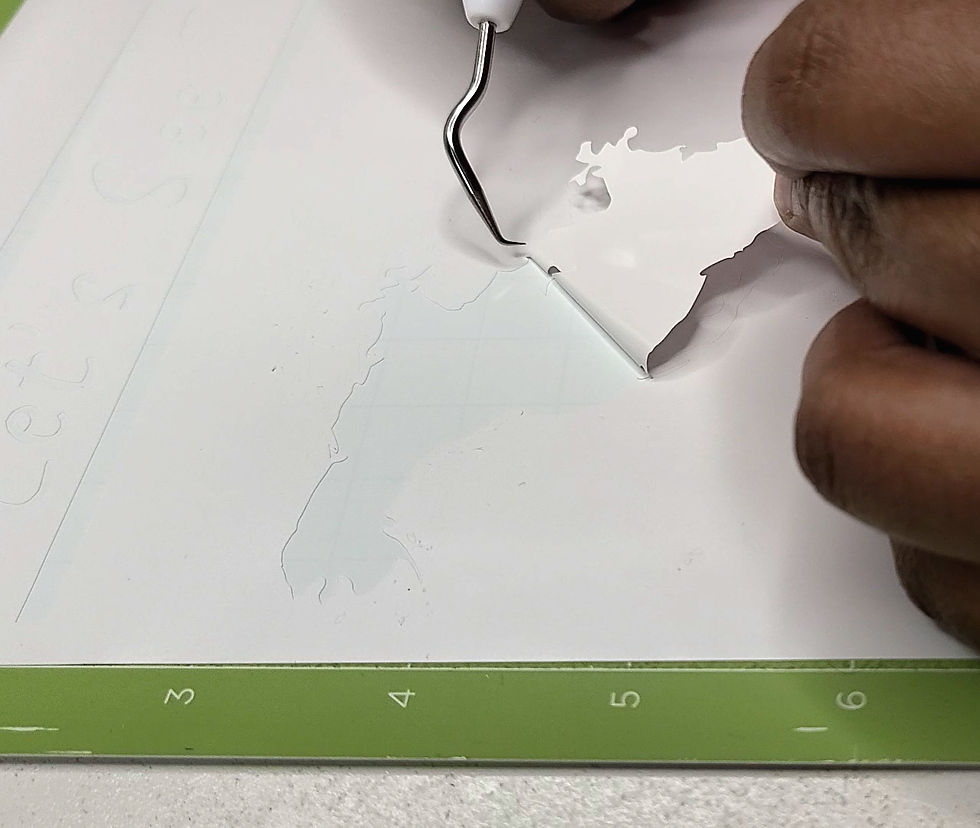
Weeding didn't take long at all, but it was tricky to do since it was hard to see the cut lines on the white vinyl. I could've used my lightboard to help me see the cut lines easier, but it didn't cross my mind at the time. Because I didn't use the lightboard, I missed removing some of the tiny islands of the silhouette.
Transferring the Vinyl onto the Travel Case

I couldn't find my Dollar Tree Con-Tact transfer tape I regularly used, so I decided to try a Dollar Tree Con-Tact adhesive shelf liner.
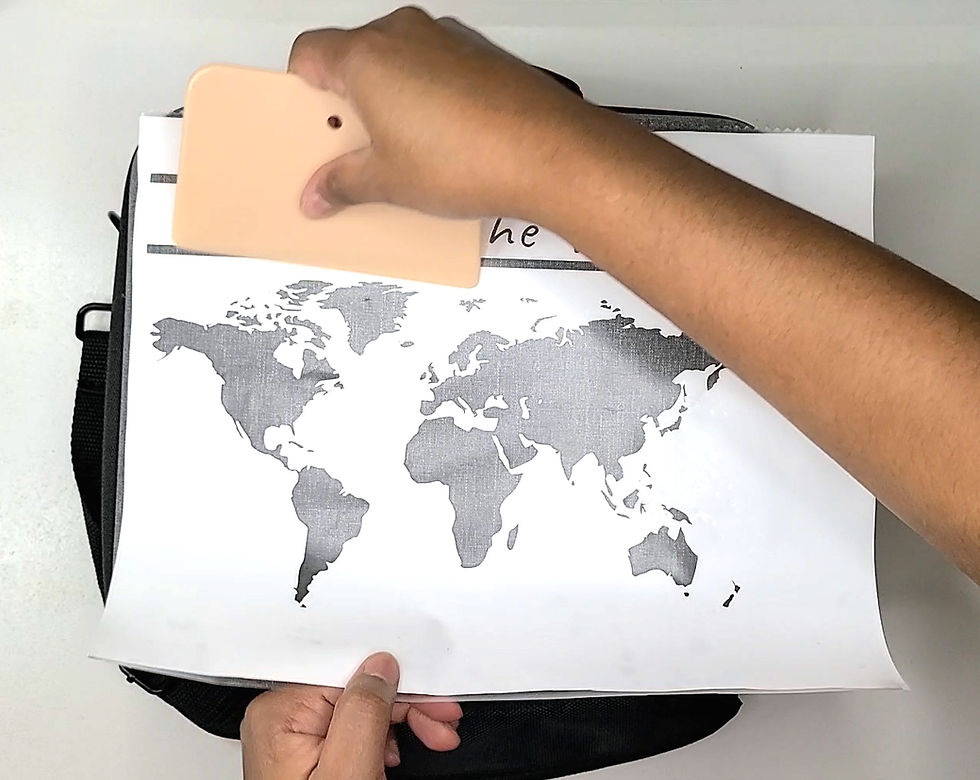
I burnished the shelf liner over the removable vinyl, peeled off the removable vinyl's backing, and burnished the removable vinyl with shelf liner over the front of the travel case.
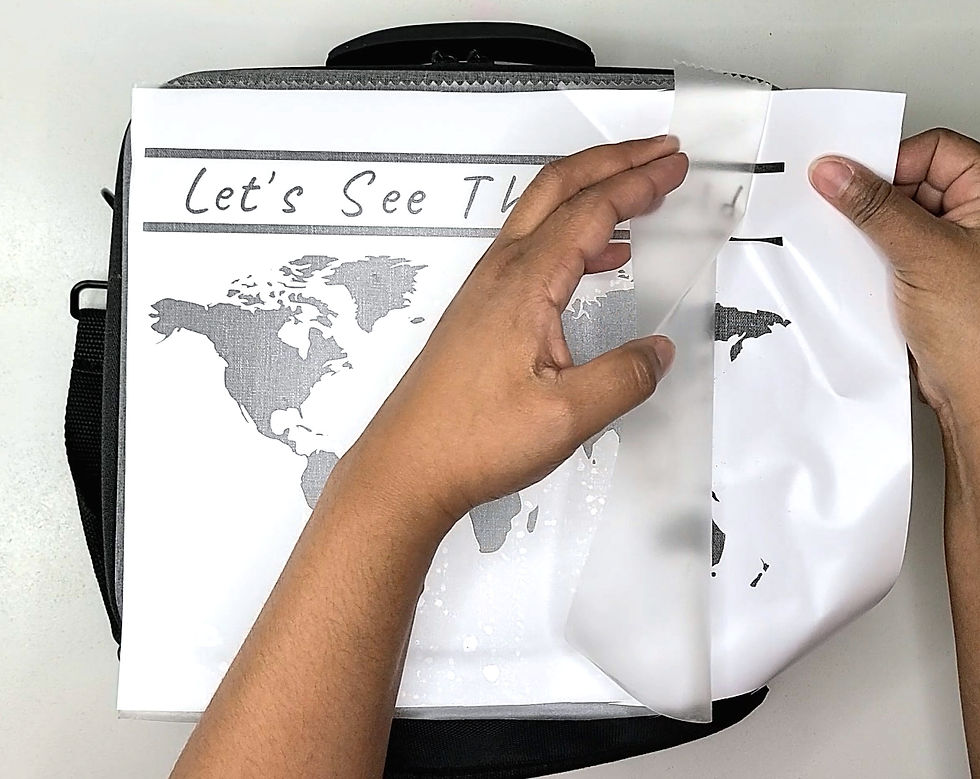
The shelf liner's adhesive was stronger than the transfer tape I regularly used. It was so strong and stickier than the removable vinyl, getting the removable vinyl to stick to the travel case was challenging.
Fortunately, I was able to carefully remove the shelf liner without ruining the position of the removable vinyl. There was a dot within an "e" that I had to put back onto the case, so double-check for any small missing pieces if you attempt to do this craft on your own.
Painting with 3D Fabric Paints
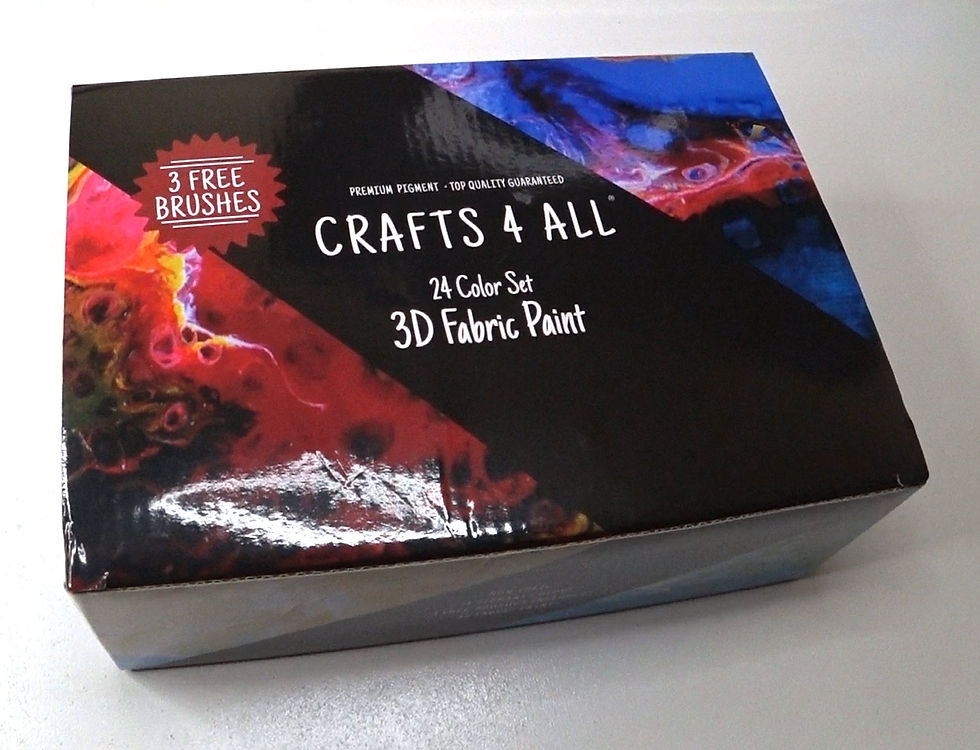
I decided to use my Crafts 4 All 3D Fabric Paints that I tried for the first time a few weeks ago when I made a Customized Painted Apron. I selected pink, blue, purple, and white as the colors of this design.


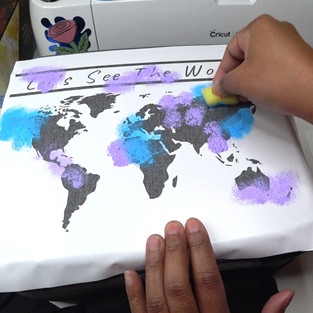
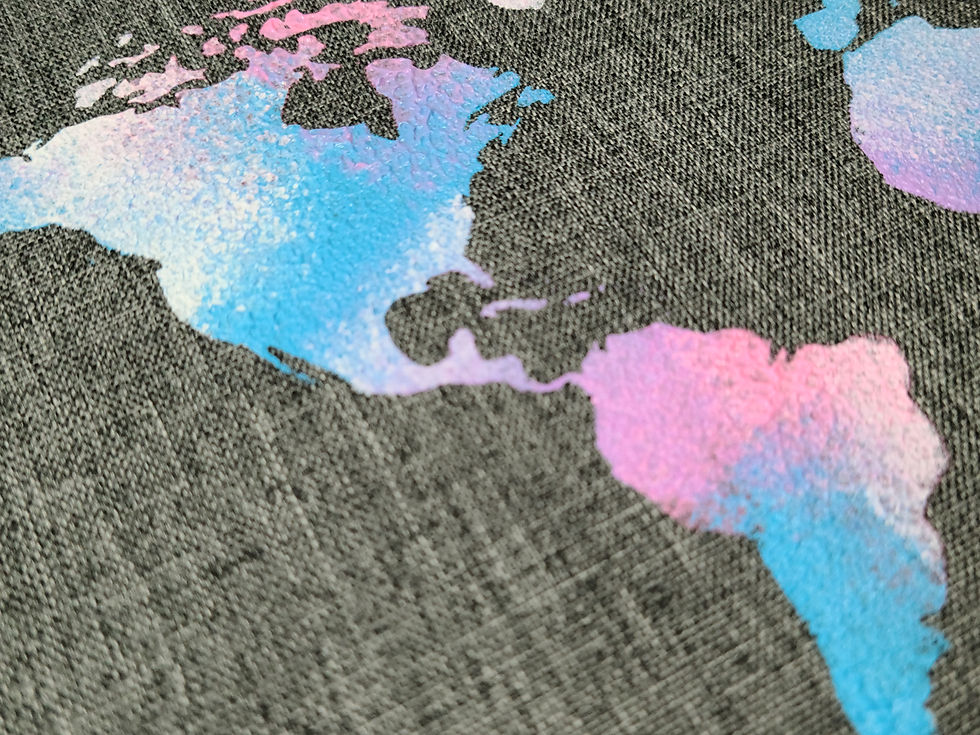
I cut a sponge into four pieces to dab paint over the removable vinyl. I squeezed the paints onto a scrap piece of the removable vinyl's backing. I started the most fun part of this craft project by dabbing a paint color with the sponge and then dabbing the sponge over random areas of the removable vinyl.


This worked well, but I later squeezed the paints directly over the removable vinyl. Doing so made the process quicker and easier. Because the removable vinyl was adhered in place, I wasn't worried about it moving or any paint seeping under it.
Removing the Vinyl

I didn't wait for the paint to dry before I removed the removable vinyl. Because I knew the paint was still wet, I carefully lifted the removable vinyl straight up instead of at an angle to keep from accidentally smearing the colors over unwanted areas of the travel case.
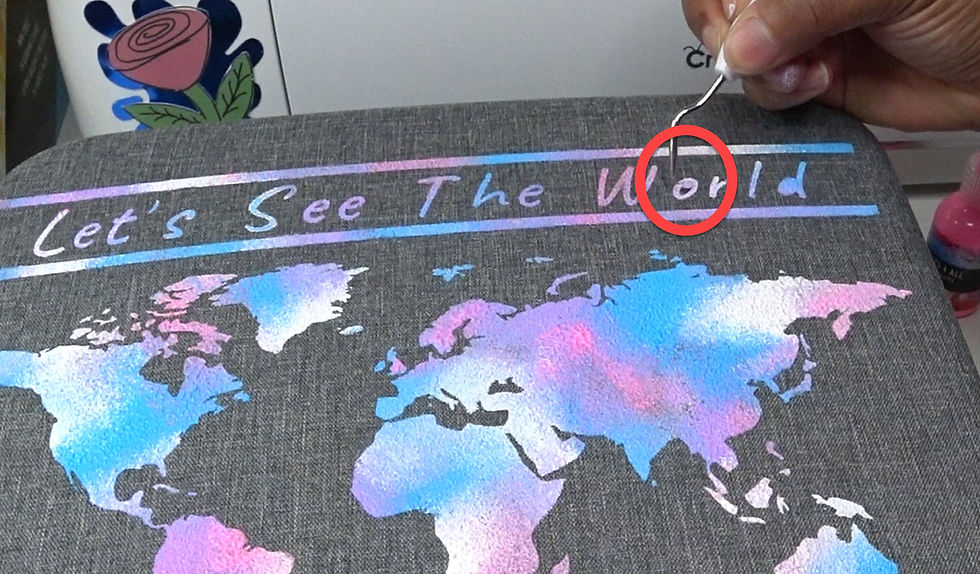
I then used my weeding tool and tweezers to carefully lift off the small dots within several letters. Again, I tried to avoid dragging the small vinyl pieces over the painted areas since it was still wet.
My Thoughts
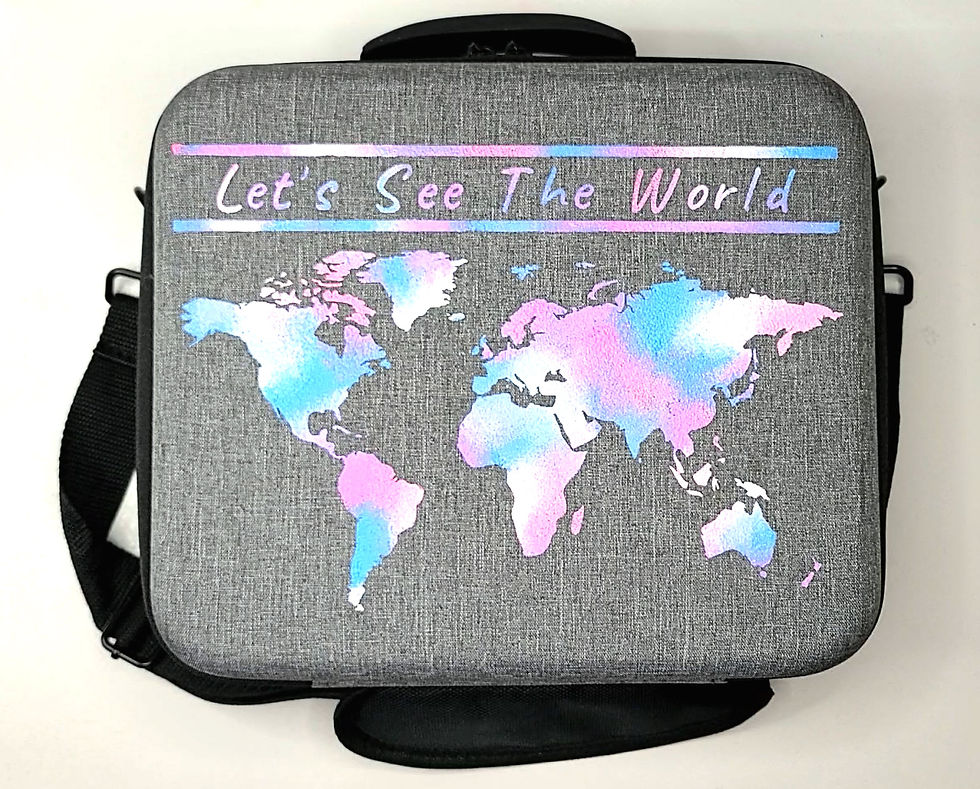
I enjoyed this customized project! The colors remained vibrant after the paint dried. Because I dabbed the paint with a sponge, there was a slight raised texture I could feel when I ran my fingers over it. I loved that it turned out to be a 3D design, even though the texture was minimal and not easily noticeable by sight.
The design turned out so well, I've considered doing the same or similar design on the back side of the travel case. I saved the removable vinyl, so doing the same design may be easy enough if it adheres well for a second attempt.
What's Next?
With frequent power outages from the freezing cold conditions in Texas the past couple days, I'm hopeful to share a quick and easy arts and crafts project with you soon. If I miss sharing something with you this Thursday, I'll make it up to you another day. I promise!
Login and Sign up to share your own customized travel case design stories and pictures!
Don't forget to subscribe below to be notified by email when I post something new.
Thanks, and have a great day!
Simply Jelly Jam
Comments