Painted Hand Soap Dispenser
- Simply Jelly Jam
- Aug 31, 2020
- 4 min read
Updated: Nov 11, 2020
Taking an opportunity to practice painting flowers.
While I could practice my painting skills in a sketchbook or on a canvas, I enjoy customizing random household items when I can. I had an empty, plastic hand soap dispenser I thought was a perfect canvas for practicing my flower painting skills.
Continue reading to see the steps I took to customize the hand soap dispenser.
Supplies and Stuff
These are the items I used to customize the phone cover:
Hand soap dispenser. My 'canvas' of choice was an empty, clean, and dry plastic dispenser.
Rubbing alcohol. I used this to remove sticky residue from the surface.
Paint markers. I used a Posca paint marker to draw an outline around the design.
Acrylic paints. I chose to use my Artist's Loft beginners' acrylic paints to create my design.
Paintbrush. I used a paintbrush to apply acrylic paint to the phone cover.
Container of water. I cleaned the paintbrush in a jar of clean water.
Varnish. I sprayed Krylon's Kamar Varnish to protect the design.
Hand soap. While not necessary to design a dispenser, I refilled my dispenser with hand soap so I could use it.
Prepping the Dispenser
Instead of recycling the plastic dispenser after using up the hand soap, I decided to clean and reuse it. I could've left the original labels, but I peeled them off to make room for my own custom design.
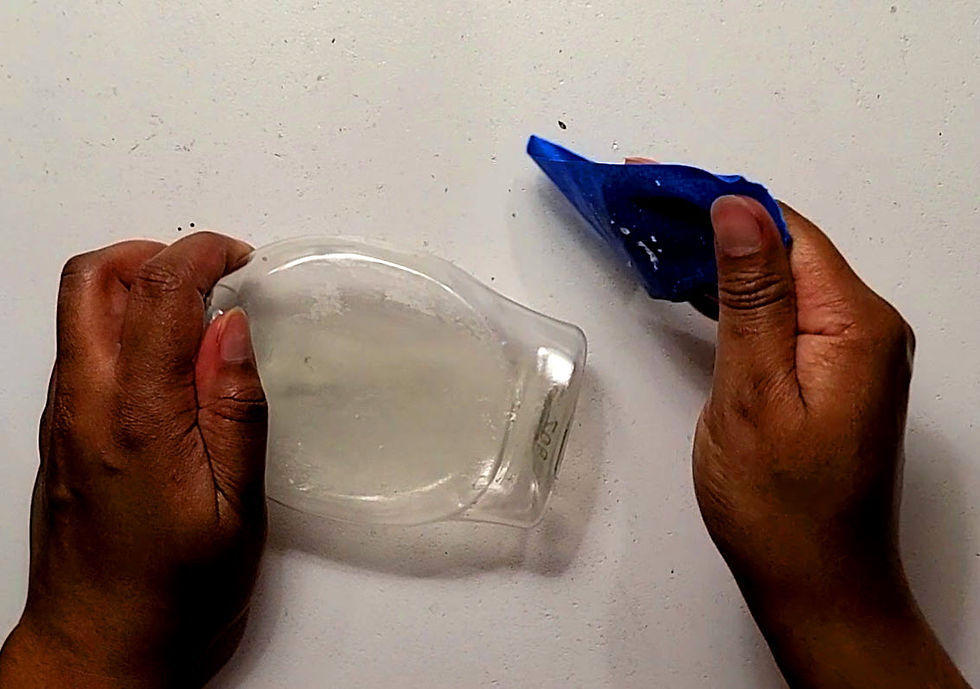
The labels left a sticky residue on the surface. I started removing the residue by pressing and peeling tape off the surface. The technique works well, but it took too long for my liking.
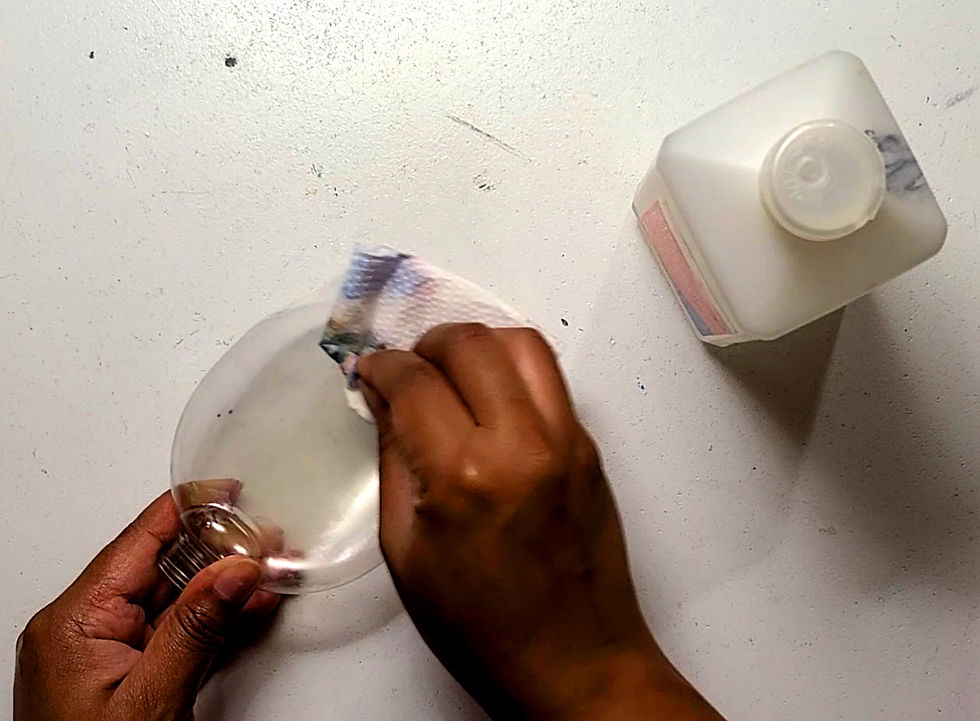
I switched to using a paper towel and rubbing alcohol to remove the reside. Doing so was faster than the tape technique I tried. I highly recommend using rubbing alcohol to remove sticky residue, at least from a smooth, plastic surface.
When the surface was no longer tacky to the touch, I wiped the dispenser with a wet wipe and dry cloth.
The Design


I initially intended to customize one side of the dispenser with Posca paint markers. I outlined a shape with a yellow Posca paint marker and then filled-in the area. There wasn't full coverage, but that's to be expected for the first coat.
Although Posca paint markers typically dry within a couple minutes, I left it for about a half hour while I focused on another project I'm working on.
I began using my Posca paint marker to apply a second coat. I have a habit of shaking and pressing the marker's tip directly on the surface when re-priming. Doing so gets the paint flowing smoothly.


No online article or YouTube influencer recommended pressing the tip directly on the surface when re-priming. That's just something I've done without issues until this day. When I pressed down on the tip, a pool of paint spilled onto the surface. It was unexpected, but I didn't think much of it at first.
It wasn't until I continued applying this second coat that the tip would push away paint opposed to adding paint. At first, I thought the paint wasn't adhering to the plastic because I didn't roughen the surface before starting the design. However, the first coat remained. Only the paint from the second coat wasn't sticking.
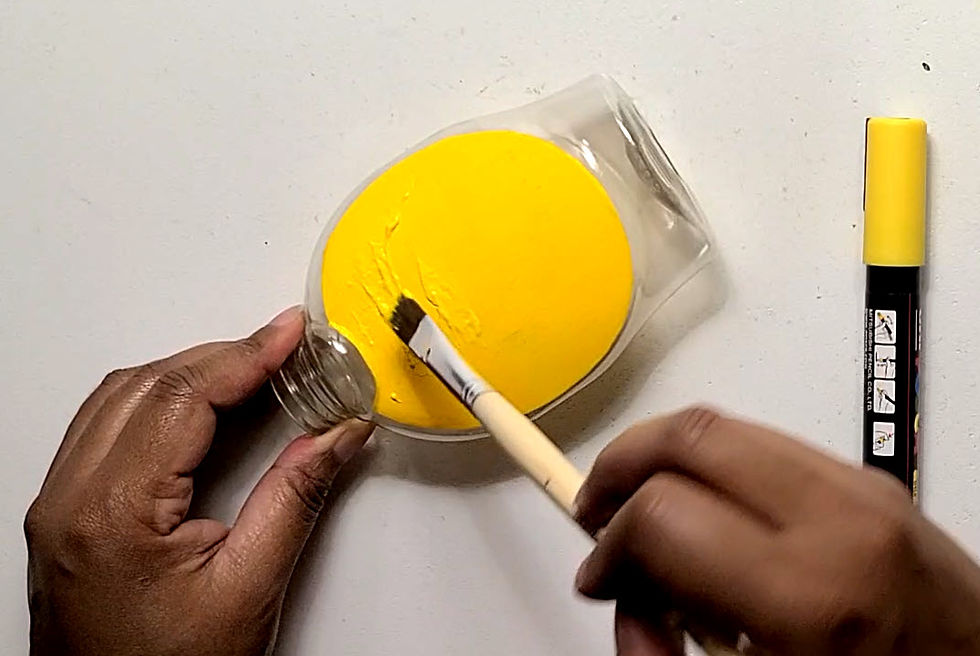
I gave up on using the Posca paint marker and switched to my Artist's Loft beginners' acrylic paint. I applied a couple coats of yellow to complete the background color. I figured since I had my acrylic paints out, it was a good opportunity to practice painting flowers.

I referred to a wall art I bought from Big Lots years ago as my inspiration. My goal was to replicate the artist's technique the best I could as a practice exercise for painting flowers.
For the most part, I think I did an OK job replicating the original source artwork. Like my blue rose painting, I eventually stopped referring to the source when I struggled to replicate it well enough in my opinion.


Like usual, I struggled with highlights and shadows. I've noticed this is specifically the case when I'm trying to replicate another artwork. Disregarding the original source artwork allowed me to paint freely and focus on what I thought I did wrong.
Of course, I still need to practice working with highlights and shadows. It'll take time, but I'll get better with practice.

When I finished painting the flowers and leaves, I outlined the background color with a Posca paint marker.
Protecting the Design

I sprayed the design with a single coat of Krylon's Kamar Varnish. This time I didn't let the varnish dry before I poured soap into the dispenser. I tried not to touch the design by holding the dispenser by its side. I've yet to touch the design to see if the varnish is still tacky, but I also don't have reason to handle the dispenser's body.
My Thoughts


I enjoyed this practice exercise I created for myself. I realized there's a lot of room for improvement. There's little contrast between my white flowers and the yellow background. The top flower is barely noticeable. I wondered if I should've used a different color background.
My blue flower looks like several cotton swabs dipped unevenly in blue paint. It doesn't look like a flower to me. There's also little contrast between the blue flower and the leaves.
They say you are your own worst critic. Yes, that's true. I'm exceptionally critical of my own arts and crafts projects. I never feel like my work is good enough, and I'm still embarrassed to share my work via blog posts and YouTube video uploads. It wouldn't bother me if my art vanished.
However, I'll continue working on various arts and crafts projects simply because I enjoy it. I have fun creating and criticizing my own stuff. It encourages me to do it all over again and see how I improve.
So, if you're wondering why I've done a lot of the same projects, and whether I'll do more of the same projects in the future, it's because I will try, try again. At least I'll give it a try for as long as I enjoy it.
What's Next?
I'll continue to share my thoughts and experiences on projects such as this painted hand soap dispenser. I've also thought about sharing stories from my past, since I treat this blog as a public, personal journal. There are a few stories I've longed to share.
Do you like completing challenges and exercises to build your arts and crafts skills? Login and Sign up to share how you practice improving your skills and how often you do so.
If you're interested in future craft posts, Subscribe below to be notified when those and other posts are available.
Thanks, and have a great day!
Simply Jelly Jam
Comments