Simple Cricut Ornament Design
- Simply Jelly Jam
- Dec 15, 2020
- 4 min read
Updated: Jan 12, 2021
My first Cricut vinyl ornament.
With the holidays around the corner, I've been trying to craft DIY gifts for family. My Cricut machine, some vinyl, and puffy glass paint made it easy for me to craft my first personalized ornament.
Preparing for the Craft


I had a box of glass ornaments I bought from Hobby Lobby years ago. Based on the print on the box, I likely bought these ornaments back in 2014.
I spray painted a few glass ornaments white the day before I decided to cut the vinyl. I didn't pour paint into the ornament because of a strange rainbow band that appeared around each ornament. The rainbow band is annoying when I want a solid color on the ornament.
I pulled out a roll of black permanent vinyl and my Cricut standard grip mat to hold onto the vinyl well during the cut process.
Working Digitally First


I visited dafont.com to search for a scripted font to use on an ornament and saw that the "Christmas Bell" by Typhoon Type - Suthi Srisopha was recently added to the site for personal use. I loved the way the characters looked, and I especially loved the ornate designs some special characters produced.


I started a new project in Cricut Design Space and added "Monica," parenthesis, and "2020." I left "2020" in the default Cricut font but changed the name and parenthesis to the new font. I added a few small circle shapes to imitate a holly with the ornate parenthesis design.
Adjusting the "Letter Space" to fix the kerning issue didn't look right to me, so I ungrouped and manually moved the individual characters for "Monica" to adjust the kerning. I attached and resized the design to 2" wide to fit the ornament well.
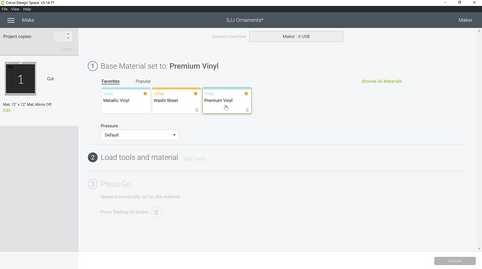
When I finished playing around with layout and placement, I continued to "Make It" with "Premium Vinyl" as the base material.
Cutting and Weeding


I placed the cut-to-size vinyl onto the mat, loaded the mat into the Cricut machine, and started the cut process.
I learned from watching a few YouTube videos to weed the excess vinyl while it was still on the mat. The trick allowed me to use both hands for weeding. This was necessary because the smaller, thinner pieces didn't want to separate from the excess vinyl easily.
Unfortunately, I scrapped my first attempt. The ornate design and "2020" were cut too small and difficult to weed. I went back into Cricut Design Space, increased the size of the ornate design and "2020," and then started the cut process.
The second attempt went well. The zeros in "2020" would shift in position as I weeded the excess vinyl, but it was easy enough to slide back into position.
I cut and applied some transfer tape from the Dollar Tree over the weeded vinyl piece. I mentioned where I bought the transfer tape because it less tacky than Cricut or other brand transfer tapes. It works well with larger vinyl cuts but struggled to stick to the smaller and thinner cuts of this design.


Another trick I learned from watching YouTube videos was to cut slits around the vinyl. Doing so would make it easier to apply the vinyl onto curved and rounded surfaces like my glass ornament.
I learned from experience that I should've cut the slits after I removed the transfer tape's backing. Peeling the backing took patience, but it wasn't difficult to do with the slits.


The slits made it easy to apply the vinyl onto the ornament without unwanted wrinkles. I burnished the vinyl with my thumb to ensure it adhered to the ornament.
After I removed the transfer tape, I continued to burnish the vinyl for a while longer.
Making a Change to Add Color


The design appeared boring to me. I originally wanted to add color but didn't have green vinyl for the holly leaves I wanted on the ornament.
Then I remembered I had puffy glass paint. I peeled off the ornate design between the name and the year. I then added a simple holly in the blank space with green and red puffy glass paint.
While it's a simple design, the overall design looked better to my eyes with a pop of color. I'm glad I made this change at the end. The puffy paint needs a day to dry and harden before I can handle it.
My Thoughts

I worried this design was too simple, but the minimal design looks good to me. I'm especially grateful I added a pop of color with the puffy glass paint.
This ornament was a test to see if I'd like how it looked. I liked it so much, I've made enough for more members of my family. Fortunately, my family don't know about my blog site or YouTube channel, so there's no spoiler for them.
What's Next?
I'm still Christmas crafting, so check back to see what I share next. I have a few greeting card and polymer craft ideas in mind.
Have you decorated or received a decorated ornament recently? Login and Sign up to share a photo of your favorite decorated ornament. Don't forget to share why it's your favorite.
Don't forget to subscribe below to be notified by email when I post something new.
Thanks, and have a great day!
Simply Jelly Jam
Comments