Toilet Paper Roll Advent Calendars
- Simply Jelly Jam
- Nov 23, 2021
- 5 min read
Updated: Nov 26, 2021
Making 25-day treat calendars for my dogs.
I've saved toilet paper rolls for the past year with the goal of using it for a craft project. With December and the Christmas holiday around the corner, it seemed fitting to make a couple treat advent calendars for my dogs.
The TP Rolls

For the past year, I saved dozens of toilet paper rolls for a fun craft project. I've watched videos of advent calendars made from toilet paper rolls and wanted to try it myself.

I folded the rolls to make square-ish shapes. Looking back at my experience, I should've left them in their natural round shapes. Creasing and folding the rolls wasn't hard. It was just time consuming.
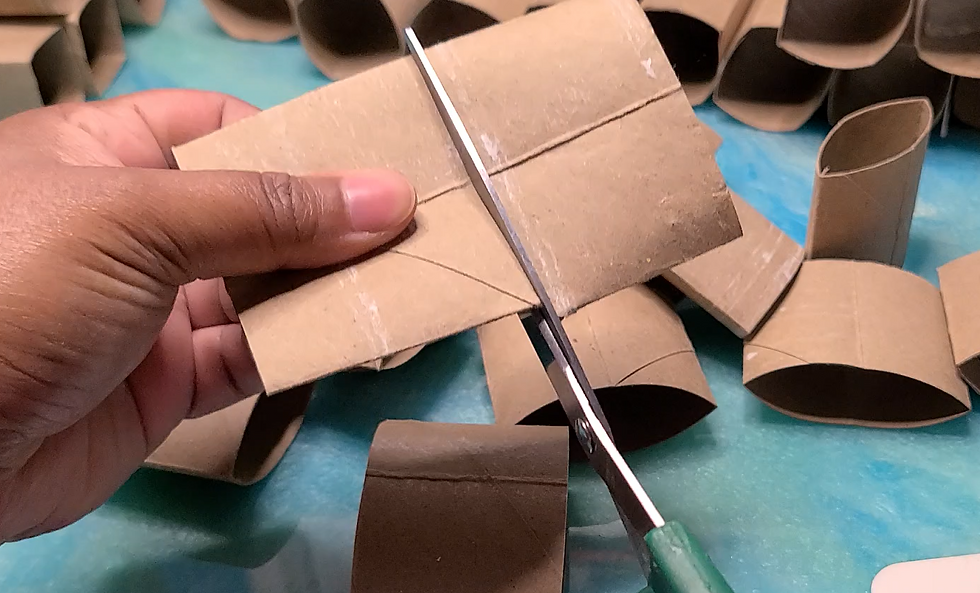
Since the advent calendars were for my dogs' treats, and one dog is a small breed, I cut some rolls in half for his fewer and smaller treats.


I painted the outside and the inside of the rolls. The smaller halves were painted green while the full-sized rolls were painted red. I should've only painted the insides of the rolls. I wasted time and paint on the outside that was later hidden because of a frame I assembled for both advent calendars.
The Frame
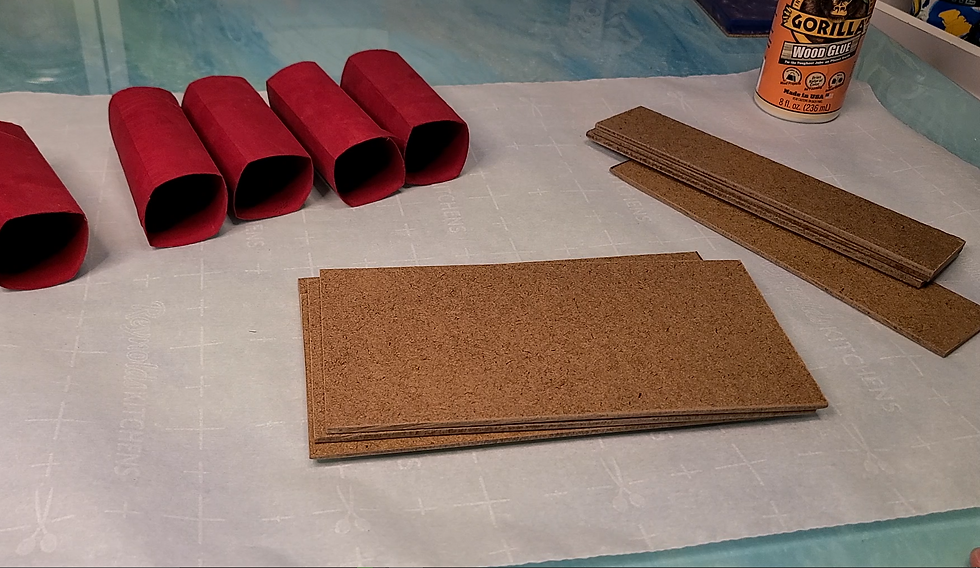
I had left over MDF boards from my DIY Craft Cabinet. It's easy (for me, at least) to cut the board with a handsaw and miter box, but I asked my Dad to cut it because I was lazy that day.
If I didn't have the MDF boards, my other alternatives were heavy chipboard or an old Amazon delivery box (cardboard).
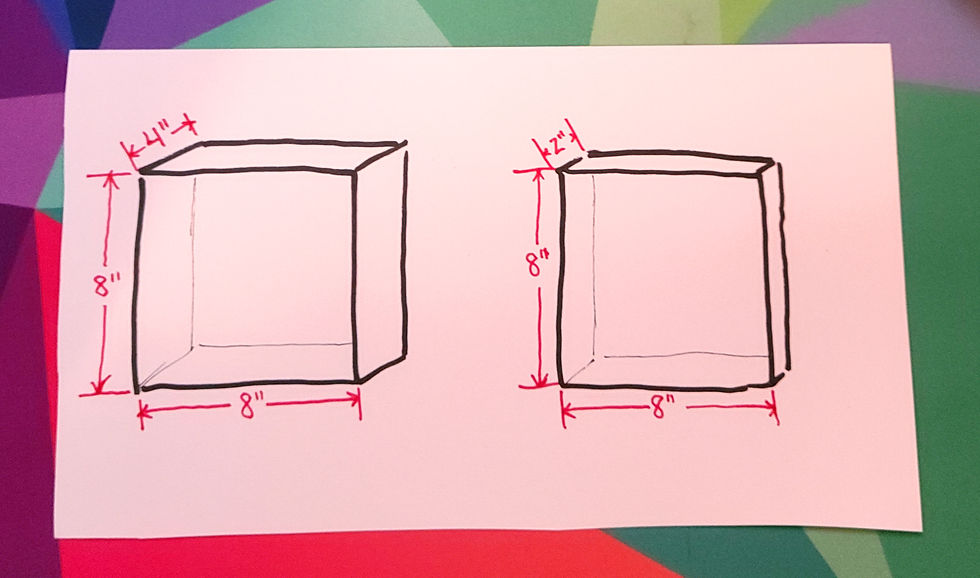
For the advent calendar with the full-sized rolls, Dad cut four equal pieces measuring at 8" x 4". For the advent calendar with the half-sized rolls, Dad cut four equal pieces measuring at 8" x 2".

I adhered the edges of the pieces together with wood glue. I could've easily used hot glue to achieve the same results. In fact, hot glue would've filled in gaps from the uneven cuts better than the wood glue did.
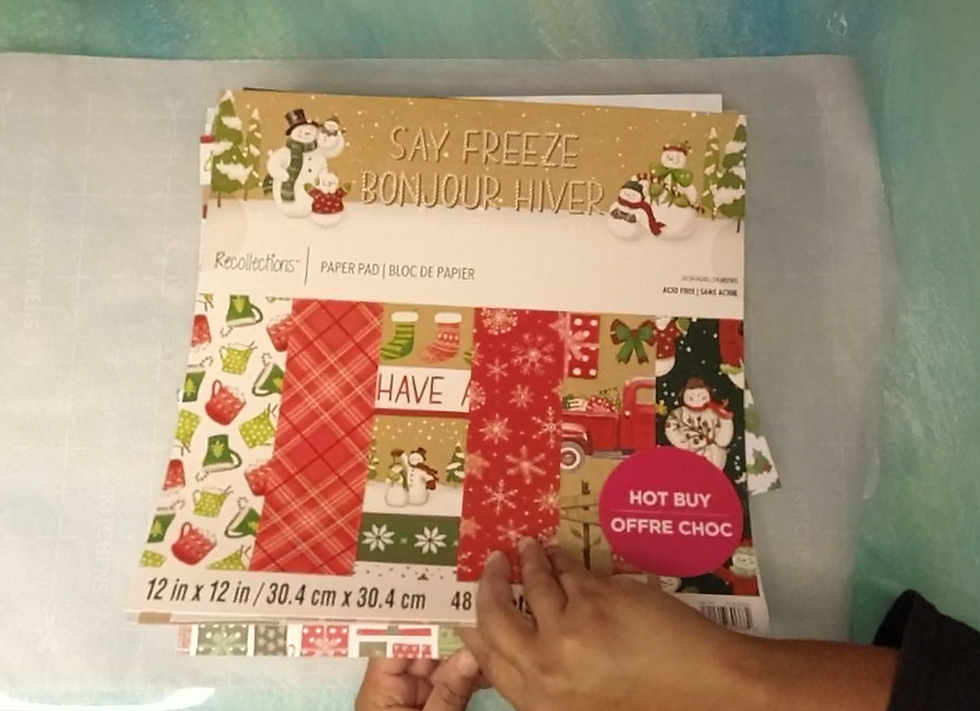
I originally planned to paint the frames, but I opted to wrap them with pattern paper to hide the gaps between the uneven pieces. I pulled a few sheets from my Say Freeze Hot Buy paper pad I bought from Michaels last year.
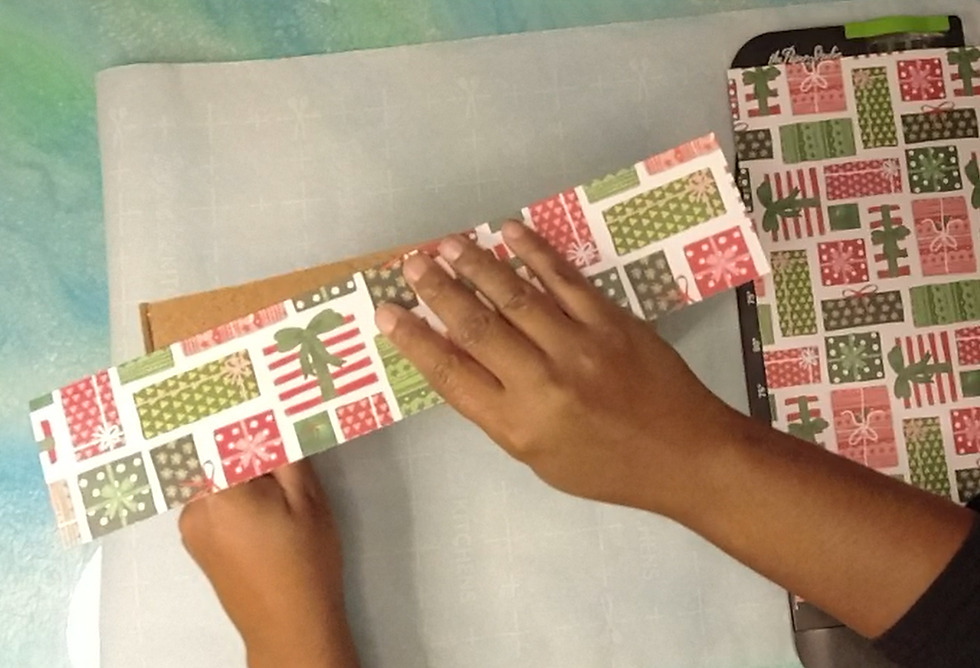
Using a paper cutter, I cut a few strips of paper bigger than the frame's sides. I knew I wanted the paper to wrap over the front edge of the frame, so I made two score lines about 1/8" apart close to a long edge of the paper.


For a clean fold around corners, I cut a small piece of the paper surrounding a scored mark where the paper would fold over a corner of the frame. This prevented a big bulging bump where the paper would've overlapped when folded.


I used permanent double-sided tape to adhere the paper to the frame. Strong glue would've worked as well for this. I ran tape along the folded flaps of the paper and directly onto the frame. So far (now a few days after I made these), the tape is holding well.
Numbering the Toilet Paper Rolls
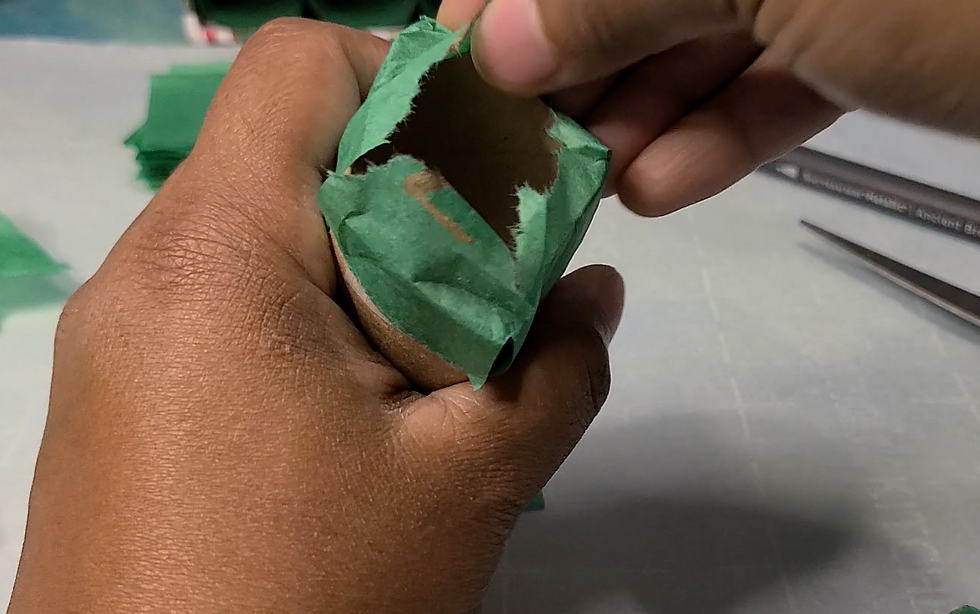
After some tests with spare toilet paper rolls, I decided to adhere gift tissue paper over one opening of the rolls. The goal was to puncture the tissue corresponding to a date.
I used green tissue paper for the green rolls, so the colors matched. Unfortunately, I didn't have red tissue paper for the red rolls, so I used white instead.


I cut the tissue paper larger than the rolls' openings and numbered each piece with a metallic brush marker. I used a bronze color to number the green tissue paper. It was legible, but I wished I used a white marker instead. The red color I used to number the white tissue paper was very easy to read.


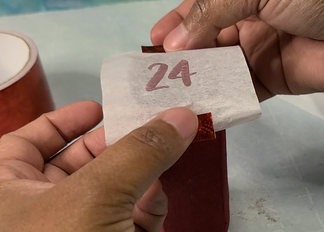


I adhered the numbered tissue paper with colored reflective duct tape I bought from Dollar Tree.
If you're looking to save a few dollars or are short on spending cash, may I recommend a stroll through your local dollar store for cheap arts and crafts supplies? You probably won't find high quality items, but some of the things you'll find will be good enough to use for various projects.
Finishing the Advent Calendars


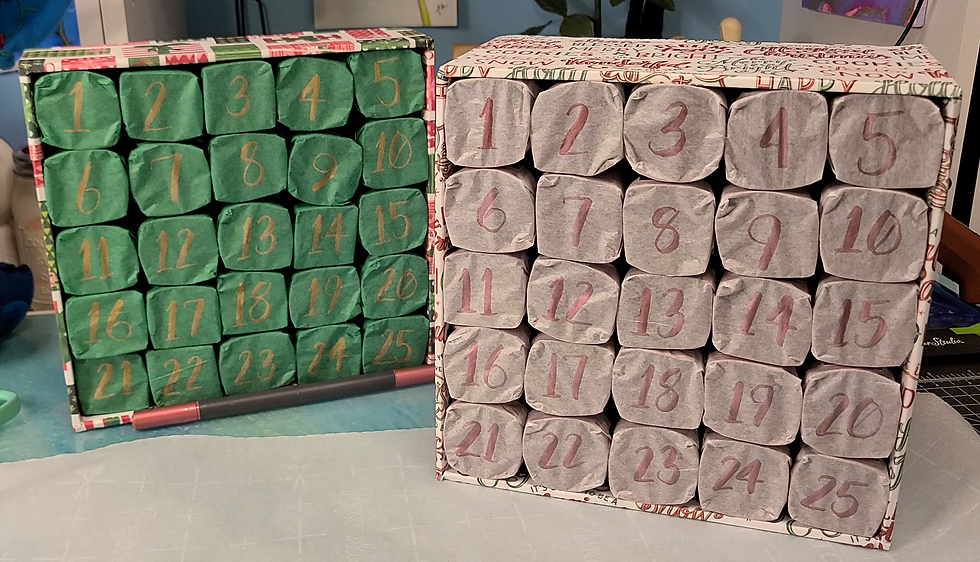
I slid the rolls into the frames. It was a nice tight squeeze, but I didn't like that I could see through the gaps easily. I cut and folded sheets of paper to serve as the advent calendars' backings. I figured it'd be easier to see as I punctured tissue paper each day leaving a gaping hole from the front.
No, I didn't use precise measurements to cut and fold the sheets to the correct sizes. I used a pencil to mark where I wanted to cut or score. I later adjusted as needed for a better fit. After all, this was on the back which I planned to place against a wall on my kitchen counter.
Despite knowing I'd have these against a wall, I worried the rolls would slide out of place as I punctured tissue paper.


I hot glued the edges of the rolls to one another. I then hot glued the edges of some rolls to the frame making sure it didn't interfere with the paper backing I cut and folded earlier. I really wanted to make sure the rolls didn't slide as I destroyed them daily for much of December.

I placed several of my dogs favorite treats into the rolls. My dogs dislike receiving the same treats daily, so I made sure there was a different treat each day. I replaced the paper backing and called it a day.
My Thoughts
Although a bit time consuming, these were surprisingly easy projects to complete. I completed this over several days, but I'd guess it could all be done within a single day if you're in a rush to make your own toilet paper roll advent calendar.
Because the rolls were so porous, the paint didn't take longer than a half hour to dry. I only used one coat of each color and didn't see the need to waste my time with applying multiple coats.
I didn't have time to do more before this blog post and the corresponding YouTube video went live, but I plan to add something to the tops of the advent calendars. Either I'll use my Cricut or laser machine to cut out my dogs names to display on the tops of each advent calendar. I also considered hot gluing fake Christmas-themed flowers to the top. I just want to add a little more to it for visual appeal.
In the end, I know my dogs don't care how the advent calendars look. It's the inside that counts most to my dogs. In this case, it's the treats they'll get to savor daily. Truth is, they already get daily treats. The advent calendar is more for me to look at and interact with.
What's Next?
Did you know about the 25 Days of Winter Arts & Craftson my YouTube channel? Each day from December 1st through December 25th, I'll upload a winter-themed video that may be of interest to you. Feel free to check-out the channel to see what I have to share.
Have you made your own unique advent calendar? Login and Sign up to share the steps you took and your thoughts on making an advent calendar.
Don't forget to subscribe below to be notified by email when I post something new.
Thanks, and have a great day!
Simply Jelly Jam
Comments