Using a STMT DIY Accessory Studio Kit
- Simply Jelly Jam
- Aug 17, 2021
- 5 min read
Checking out a $10 USD arts and crafts kit to please my inner child.
During a trip to my local Target store, I saw the STMT DIY Accessory Studio kit on a shelf and didn't hesitate to buy it. I never used a kit like this when I was young, so my inner child couldn't resist! I thought I'd share my experience, thoughts, and tips.
Packaging and Contents
There were several STMT branded kits on the shelf, but this DIY Accessory Studio kit was the cheapest at $10 USD. I was having a bad week when I saw these in the store, so this was more of an impulse buy than anything else.

The package contents included:
Instruction sheet
Paint strip (8 colors)
Paintbrush
Four adhesive patches
Eight plastic charms/pins
Eight adhesive pin backings
Metallic gold cardstock paper*
*The metallic gold cardstock paper isn't mentioned anywhere on the packaging or instruction sheet. I'm guessing it's just a sample that could be purchased separately or included in another kit.
Painting the Charms
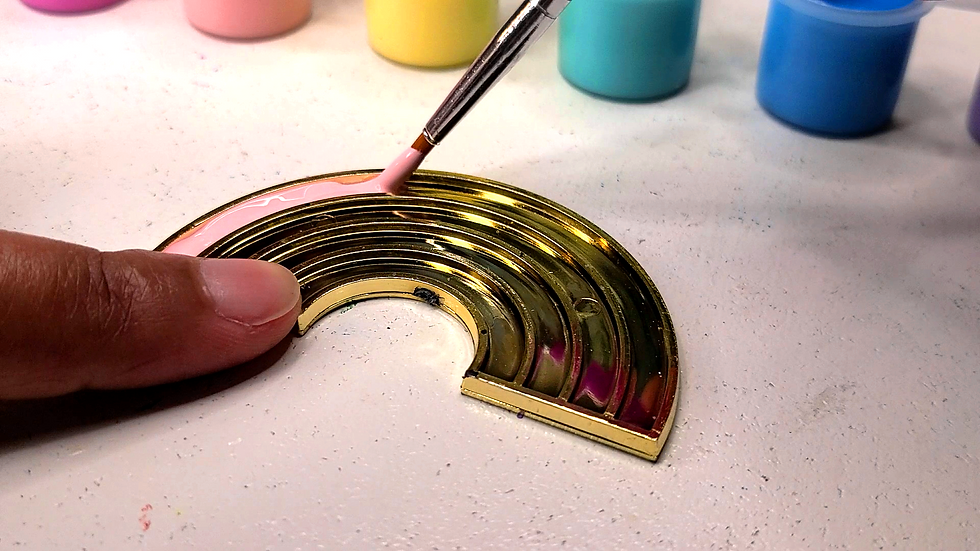
Painting the charms with the paint and paintbrush included in the kit was easy. I dipped the paintbrush into the paint color of choice and painted a divided section of a charm.
The paintbrush worked well for filling in the larger sections of some charms, but I still often managed to get paint on the ridges or top edges where I didn't want paint.

Using a toothpick allowed me to get paint into the smaller sections more cleanly. I'd still get paint on the ridges or top edges, but a lot less often than when I used the paintbrush. Before long, I only painted the charms with a toothbrush.
The amount of paint used to fill-in the sections didn't matter. I initially thought if I filled a section to the max with paint that it would remain filled that way.
However, the paint shrank and flattened as it dried. Layering paint afterwards also didn't make a difference. If you try this kit yourself, a small amount of paint is all you need so you can save the paint for other charms or projects.
By the way, the paint washed off skin easily, but it stained fabric and some other surfaces. I accidentally dropped the paintbrush full of paint onto my tabletop. It splattered everywhere to include my tabletop, skin, and clothes. It completely wiped off my Cricut machine though.
Fixing Mistakes
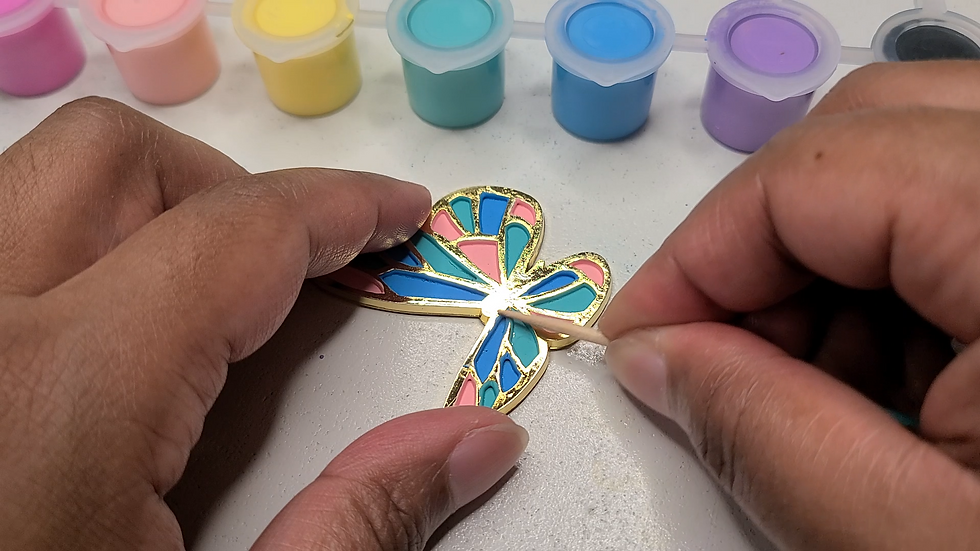
I tried different ways to remove paint from the ridges or top edges. I found that scraping dried paint gently with a toothpick worked best.
"Gently" is the keyword I want to emphasize here. Scraping too rough or too much peeled off the faux metallic gold from the charm's surface. It's a black matte plastic charm at its core.
At one point, I felt I messed up while painting a sunflower charm. While the paint was still wet, I dropped the charm into a jar of water I used to wash the paintbrush.
I left the charm in the jar for a while before rinsing it under running water at a faucet. It cleaned up nicely and I was able to paint on it again.
Using UV Resin to Color the Charms
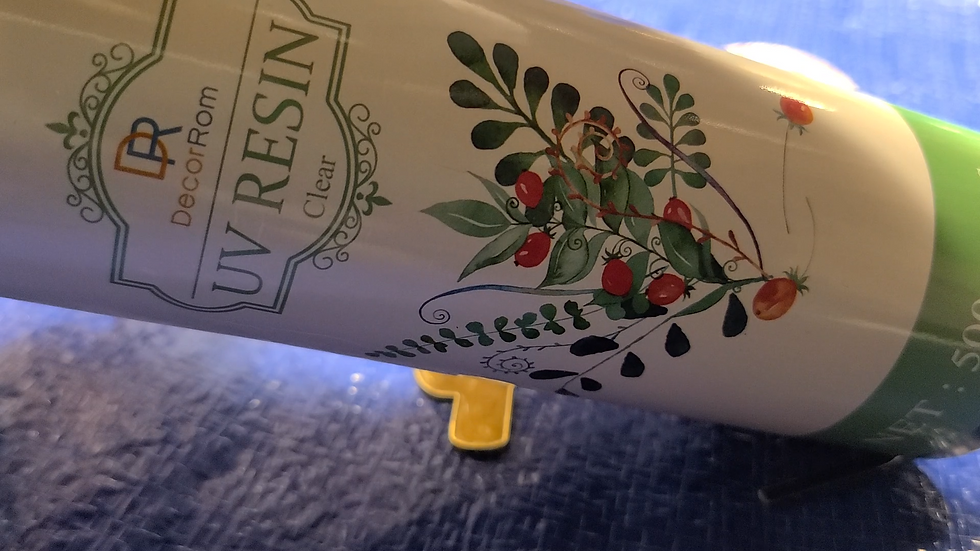
I wanted to try coloring at least one of the charms with resin. I used my DecorRom UV Resin, pigment powder, and glitter.
***NOTE: Use any type of resin in a well-ventilated area! The fumes are toxic if inhaled deeply. I'd recommend wearing a mask and gloves as extra precaution, especially if you have breathing issues, migraines, sensitive skin, or bizarre allergic reactions to chemicals.***
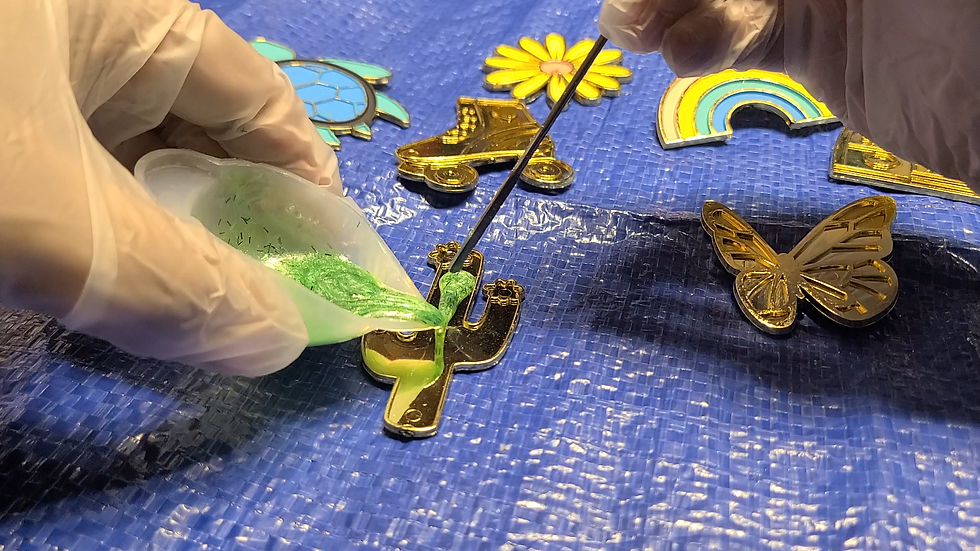
It didn't take a lot of UV resin to fill-in the different sections of a charm. Sometimes I poured directly onto the charm, but later I found dripping the UV resin from a pick worked best.
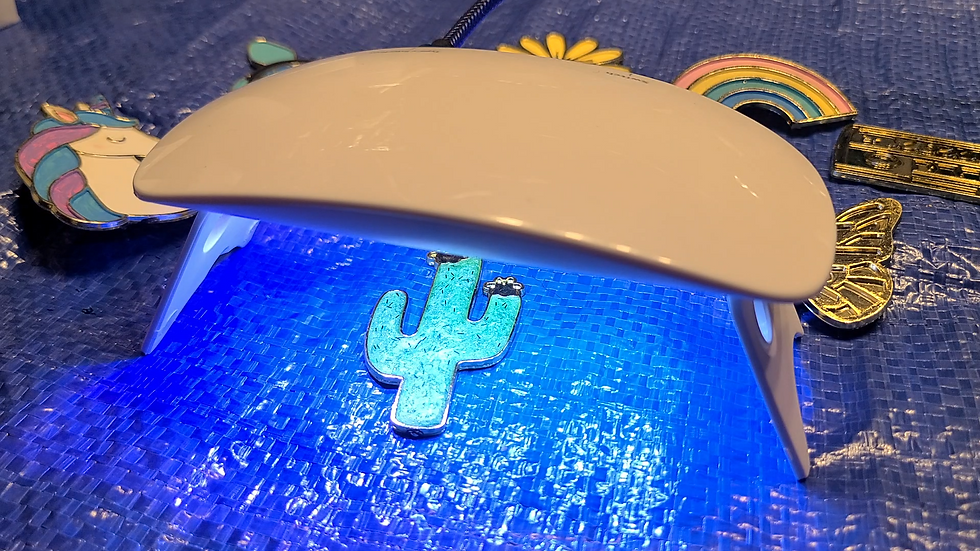
I cured the charm with a small UV lamp I unpackaged when I installed my LYWHL Screen Protector on S20+. It's smaller and lighter weight than my DIY UV light setup made when I was Trying DecorRom UV Resin for the first time. I use the DIY UV light setup when I'm curing more pieces or larger pieces at a time.
I loved the way the cactus turned out I decided to color a couple other charms with UV resin as well. Unfortunately, my migraine was building, and I lost the patience to mix more colors. I only used two colors, white and purple, when I wanted to use more vibrant colors. Those pieces would be my least favorite of all.
Doming the Charms

While I had my UV resin supplies laid out, I decided to dome most of the charms with clear UV resin. I mixed in some white glitter to add a little sparkle to the domes.
I happened to have a piping syringe tool thing that I used to dome the charms. I never used one of these before, so I thought this was a suitable time to try it.
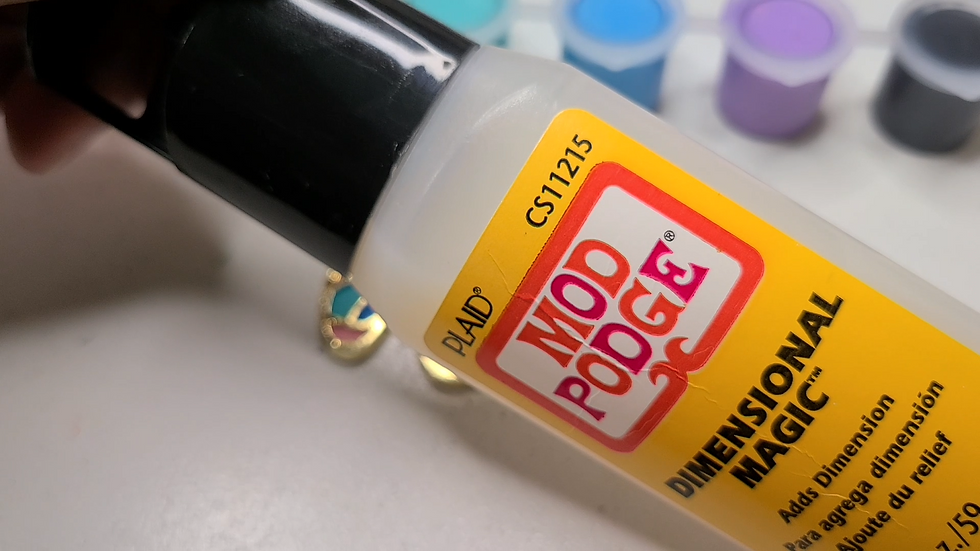
Unfortunately, my migraine discouraged me from doming all the charms with glittery UV resin. I had a couple charms left that I domed with Mod Podge Dimensional Magic.
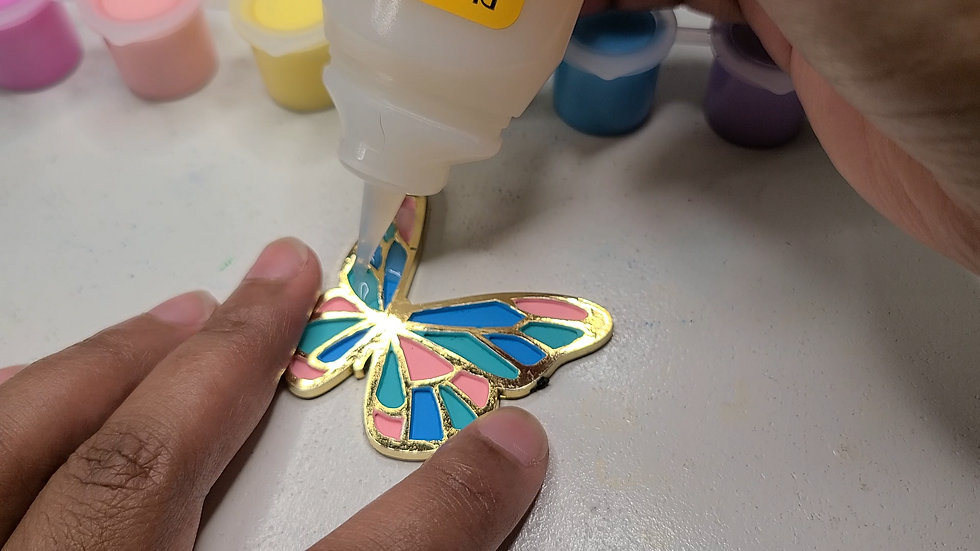
I've used this product to add dimension to papercraft projects, but never to charms. Fortunately, it worked well. It appeared cloudy when applied, but it dried cleared. It also shrank as it dried.
I tried two different application methods. For the butterfly charm, I squeezed only enough resin to fill-in the different sections of a charm. I used a toothpick to push the liquid into the tight, small areas.
For the rainbow charm, I loaded the top with the liquid. It was with this charm that I learned how much the liquid shrank as it dried. Like the paint that came with the kit, using more didn't matter because it shrank significantly as it dried.
The UV resin maintained its domed shape as it cured under the UV lamp. The Mod Podge Dimensional Magic didn't maintain its domed shape. While it shrank, it kept some of its dimension and added a shine to the surface. Both were good options depending on how much dimension is wanted.
My Thoughts
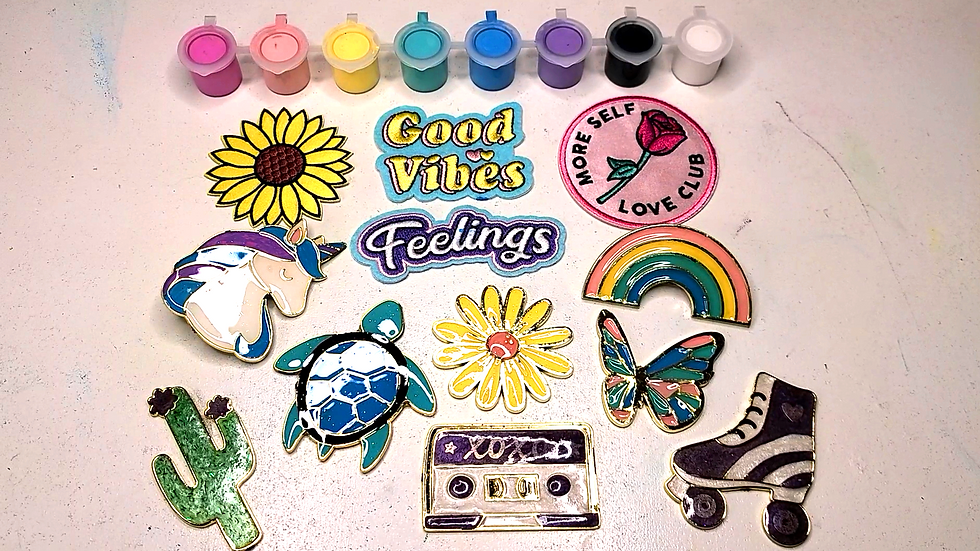
If you're searching for a low-cost art kit for a creative child or child-at-heart, this is a kit worth considering. I bought this for myself, a child-at-heart adult, and remained preoccupied for an hour or so.
The paint colors that came with the kit could be mixed to achieve a different color. I was somewhat able to mimic a marbled design using two paint colors and a toothpick, but I didn't spend a lot of time trying it out.
While most paint colors were pastel and matched the overall theme of the kit, I would've preferred to have the primary colors - red, yellow, and blue - included. Since there were other colors including white provided, it would've been easy to achieve soft pastel colors if preferred.
I know this isn't an educational kit, but it could've been an opportunity to teach children, the likely target audience of this product, color basics. That's just the educator in me wanting to see hidden learning opportunities in kits.
What's Next?
Why not buy and try an arts and crafts kit from your local store? It's a fun way to kill time and keep your mind busy, especially if you're having a challenging day.
Have you used STMT arts and crafts' kits before? Login and Sign up to share your thoughts and experiences using this or other STMT kits.
Don't forget to subscribe below to be notified by email when I post something new.
Thanks, and have a great day!
Simply Jelly Jam


Comments